
Windows 8 was a cheap upgrade path for me as the software that I wanted to run was no-longer supported by XP 64. That software, of course, was the sole reason for running Windows. Video games.
If you’ve tried Windows 8, you’ll probably have had the experience of booting up your desktop PC to what appears top be a tablet or smartphone OS and does nothing but get in the way of the normal desktop tasks you are used to. This ‘start page’, part of the Windows 8 Metro interface would be great if you were looking at 10″ portable touch-screen but the fact of the matter is, no matter how hard you prod your 23″ TFT, all you get are pressure splotches and the keyboard and mouse get lonely.
The term ‘Metro’ can bring back painful memories for some users.
Fear not for help is at hand!
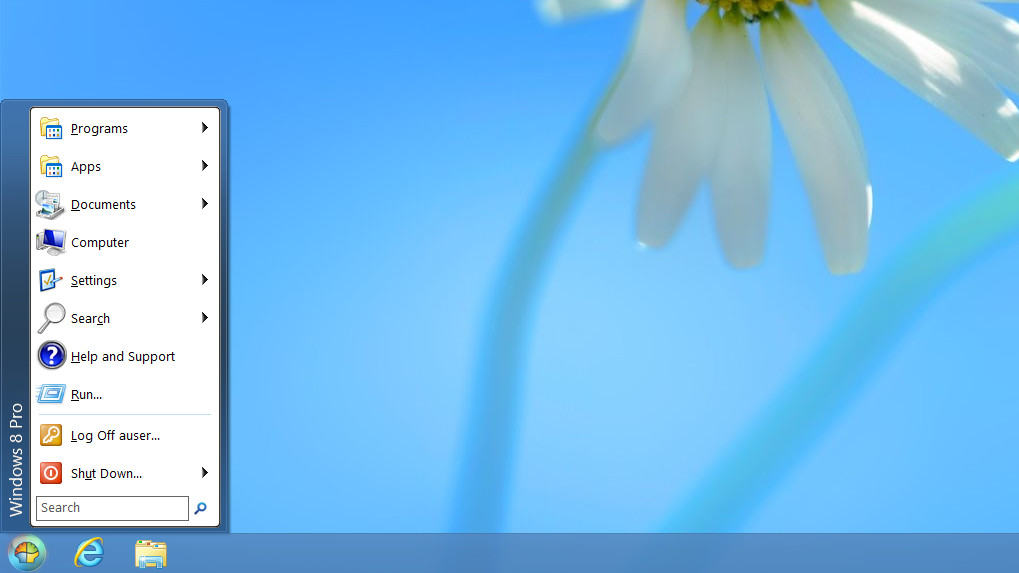
Help comes in the form a an open-source software project known as Classic Shell. This software allows you to return a Start Menu to it’s rightful place on the lower left of the taskbar and access your applications (I’ll choke if I have to now call them ‘apps’) in the manner in which you are used to.
Classic Shell also allows you to add back some popular features such as a full path and status bar to Windows Explorer and normal navigation on IE9.
Thankfully, I only really need Windows 8 as an engine for running games so I am spared the painful task of re-learning my workflow from scratch. I dual boot to Linux for serious tasks and with Gabe Newell’s pro-Linux stance for Valve and it’s Steam platform, the need for Windows in future will hopefully diminish.

